
Attic Insulation Checklist: How to Spot Gaps and Know When to Upgrade
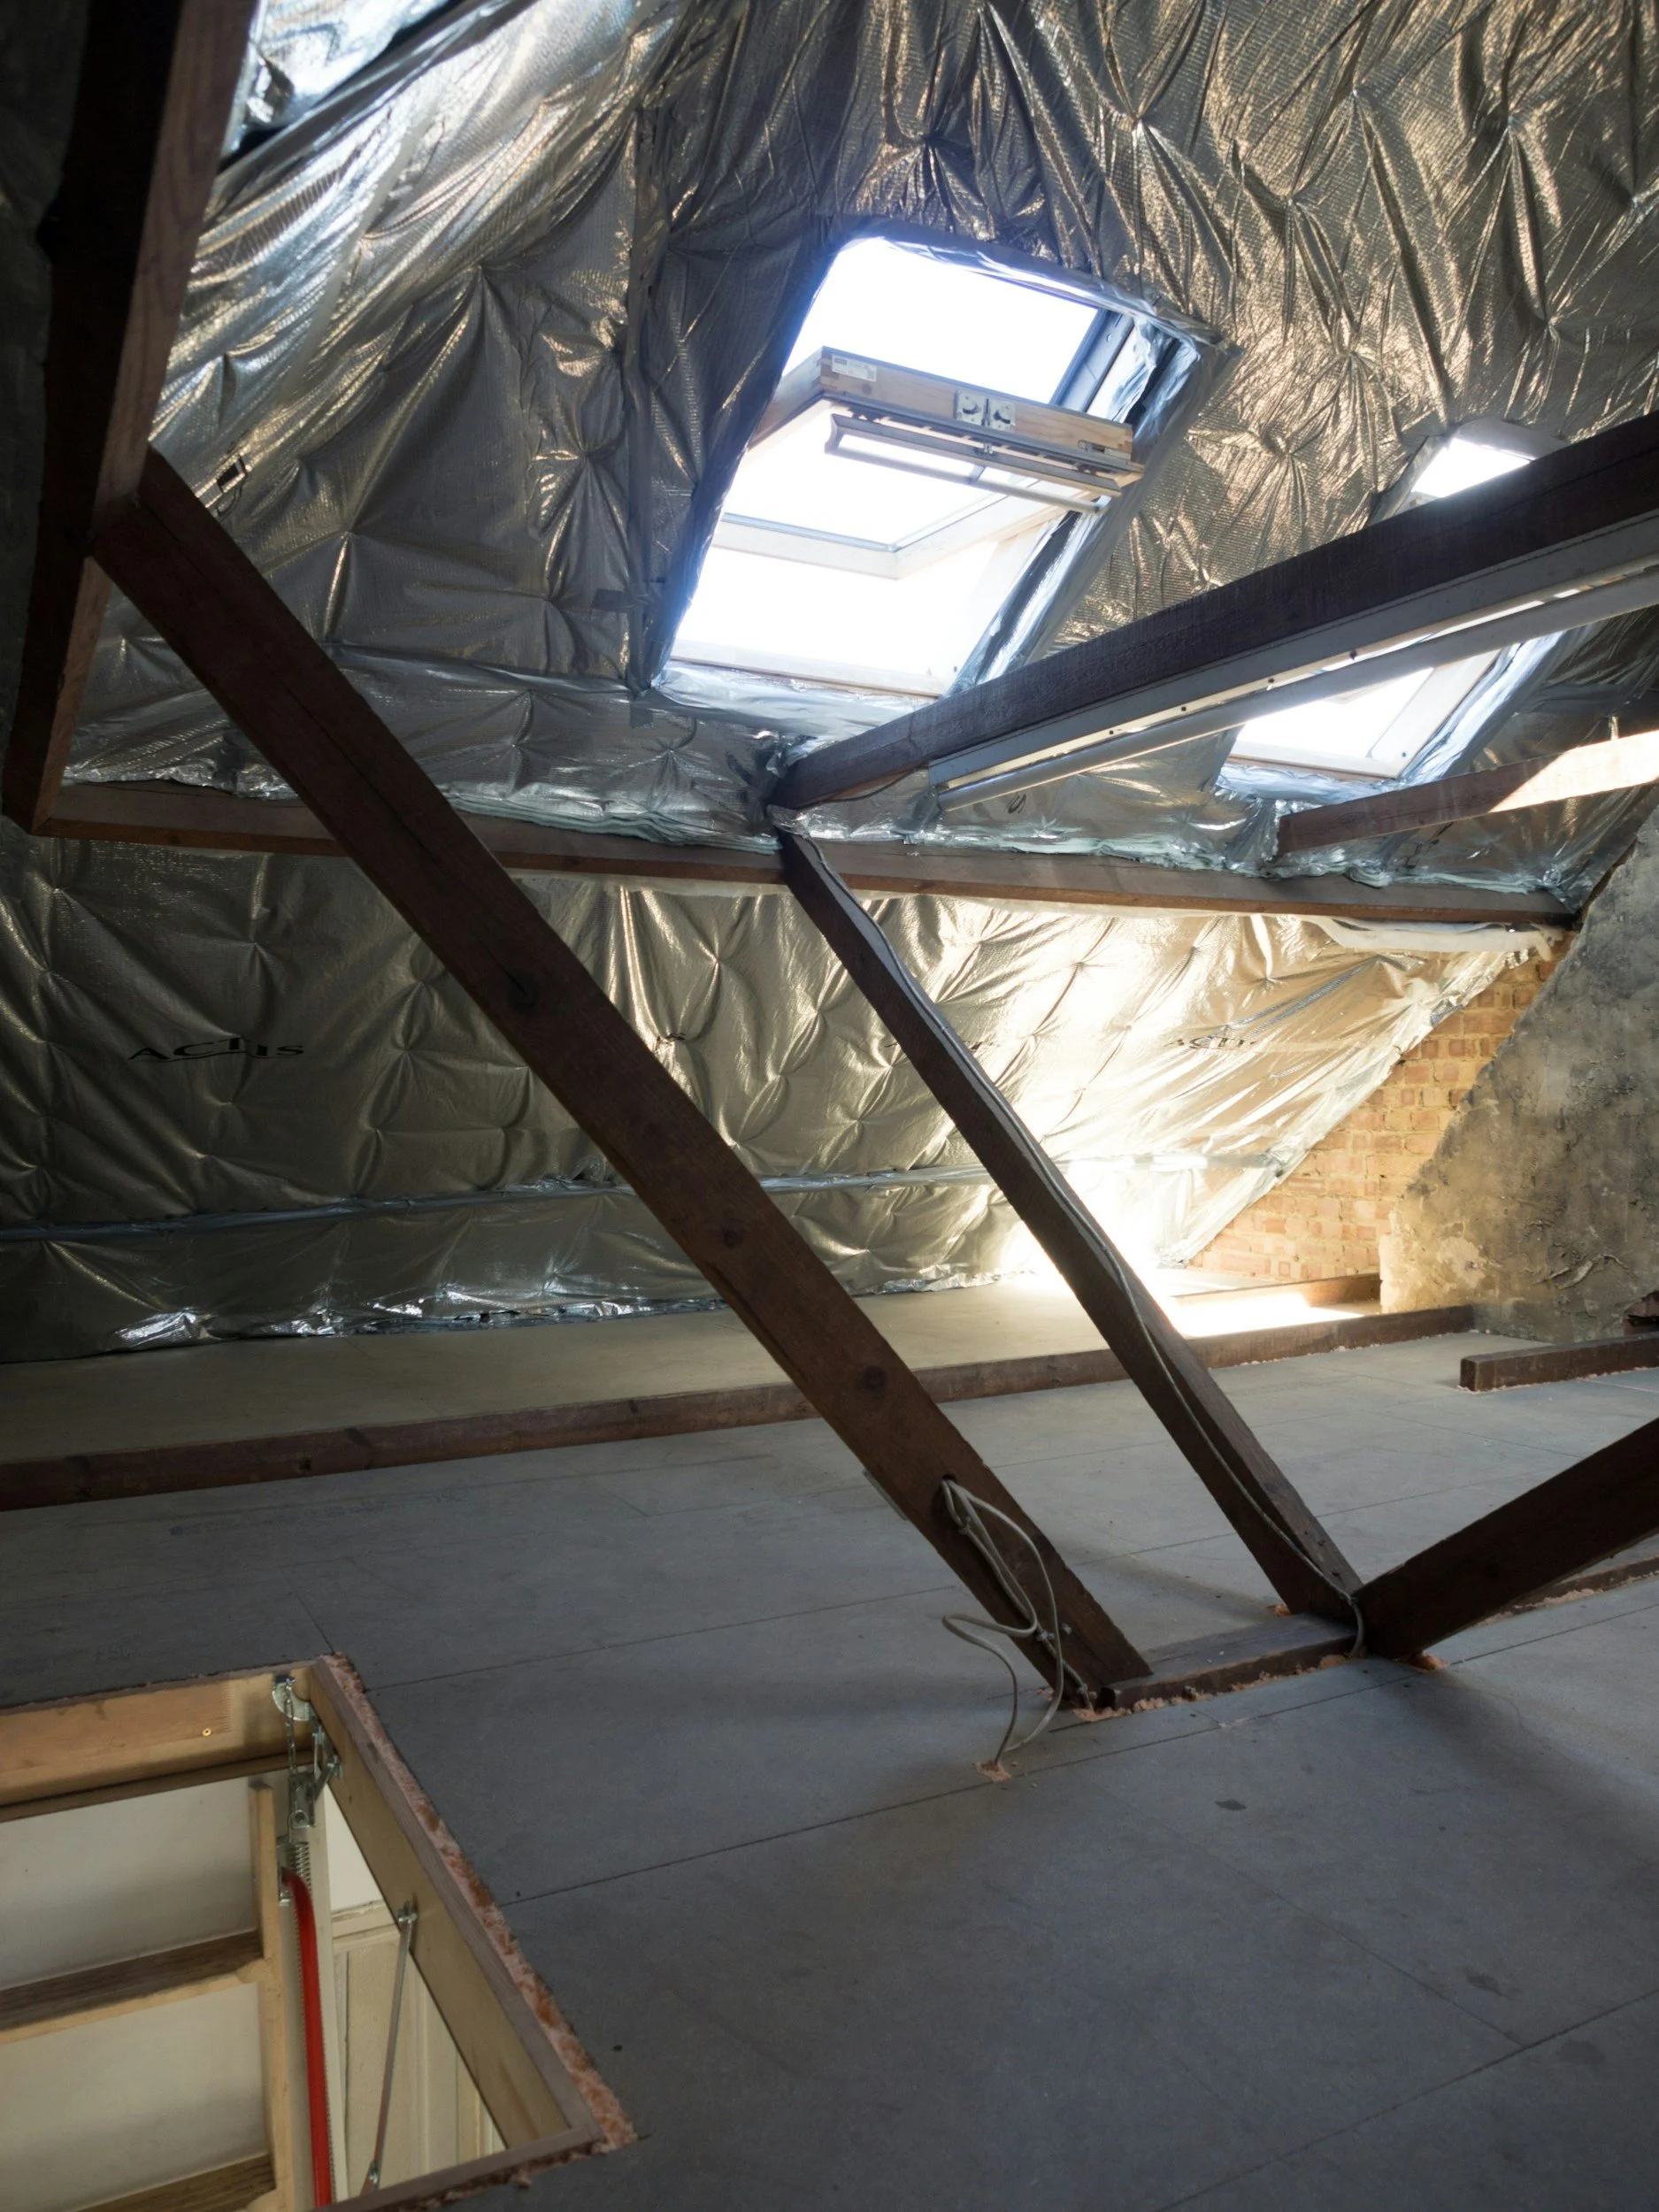
Attic insulation can settle, shift, become wet, or leave important areas uncovered. Even when an attic contains plenty of material, gaps and air leaks can allow heat to move between the living space and the attic.
A useful inspection looks at coverage, condition, ventilation, and air sealing—not just insulation depth. Safety also comes first because attics may contain exposed wiring, weak surfaces, pests, mold, or materials that should not be disturbed.
Start With Signs Inside the Home
An insulation problem may become noticeable before anyone enters the attic. Common signs include:
Rooms directly below the attic are difficult to heat or cool.
Upstairs temperatures differ noticeably from downstairs.
Energy use has increased without an obvious explanation.
Ceilings or walls develop cold spots.
Snow melts unevenly across the roof.
Ice dams repeatedly form near the roof edge.
Drafts are noticeable around the attic hatch.
The heating or cooling system runs for long periods.
Recessed lights or ceiling penetrations feel drafty.
These signs do not prove that insulation is the only problem. Air leakage, duct damage, equipment performance, windows, and roof ventilation can produce similar symptoms.
Inspect the Attic Safely
A basic visual check can often be completed from the attic entrance with a bright flashlight. Do not walk on the ceiling drywall. Step only on secure framing or a properly installed walkway.
Stop and call a qualified professional if you find:
Exposed or damaged electrical wiring
Active roof leaks
Extensive mold or water damage
Animal waste or an active infestation
Unprotected recessed lights
A damaged chimney or flue
Loose material you cannot identify
Fuel-burning equipment in the attic
Unstable flooring or difficult access
Wear protective clothing, gloves, eye protection, and suitable respiratory protection when exposure to ordinary insulation dust is possible. Avoid inspecting an attic during extreme heat.
Do Not Disturb Vermiculite Insulation
Vermiculite attic insulation often looks like lightweight, pebble-like material in shades of gray, brown, silver, or gold. Some older vermiculite insulation may be contaminated with asbestos.
If the attic contains material that could be vermiculite, do not rake it, move it, collect a sample, or install new insulation over it yourself. Limit access and consult a properly qualified asbestos professional before planning work.
A common dust mask is not adequate protection from asbestos fibers.
Check Whether Coverage Is Even
Look across the attic floor from several angles. Insulation should form a continuous layer without obvious bare areas, shallow sections, or compressed paths.
Pay particular attention to:
The perimeter near exterior walls
Corners and narrow roof edges
Areas around the attic hatch
Plumbing and electrical penetrations
Dropped ceilings and soffits
Chimney and flue openings
Bathroom exhaust ducts
Spaces behind attic kneewalls
Areas around HVAC equipment and ducts
Loose-fill insulation may settle over time or move because of airflow. Fiberglass batts may be folded, compressed, cut too short, or installed with gaps between pieces. Compression reduces the insulation’s ability to resist heat flow.
Measure the Insulation Depth
Use a ruler to check the depth in several accessible locations. Do not depend on one measurement near the attic entrance, where insulation may have been moved.
Depth alone does not provide the full R-value. The result also depends on:
Insulation material
Density
Condition
Installation quality
Number of layers
Whether the material has settled
Whether gaps or compression are present
R-value measures resistance to heat flow. The recommended attic R-value varies by climate zone, building design, local code, and existing construction. A contractor or energy auditor should identify the existing material and calculate how much additional insulation is appropriate.
Look for Air Leaks Before Adding Insulation
Insulation slows heat transfer, but it does not necessarily stop air movement. Warm air can escape through openings in the attic floor and carry moisture with it.
Common leakage points include:
The attic hatch or pull-down stairs
Holes around pipes and wiring
Open wall cavities
Recessed light fixtures
Bathroom exhaust fan housings
Duct and register openings
Dropped soffits
Chimney and flue chases
Air sealing is normally completed before adding insulation because those openings become difficult to reach afterward.
Different gaps require different materials. Ordinary spray foam should not be applied against a hot flue or chimney. Fire-rated assemblies, metal flashing, and high-temperature sealants may be necessary. Electrical fixtures also require proper clearances and approved covers.
Check the Attic Hatch
The attic entrance is often one of the largest weak spots in an otherwise insulated ceiling.
Check whether the hatch or pull-down stair:
Has insulation attached or enclosed above it
Closes tightly
Has intact weatherstripping
Sits flat without visible gaps
Shows staining or condensation
Allows insulation to fall into the living area
An insulated cover and properly fitted weatherstripping can reduce air leakage while keeping the opening usable.
Keep Soffit Vents Clear
Adding insulation should not block the attic’s intended ventilation paths. Soffit vents usually allow outdoor air to enter near the roof edge, while ridge or other upper vents allow it to leave.
Look for insulation pushed into the eaves or covering vent openings. Rafter baffles may be needed to preserve an airflow channel between the soffit and upper roof vents.
More ventilation is not automatically better. The design should suit the roof and local climate. Powered attic fans can sometimes draw conditioned air from the home when the attic floor is not well sealed.
Look for Moisture and Roof Leaks
Wet insulation performs poorly and can damage surrounding materials. Check for:
Dark roof sheathing
Water stains
Rusted fasteners
Damp or matted insulation
Frost during cold weather
Musty odors
Peeling roof-deck material
Mold-like growth
Condensation on nails or ducts
Find and repair the moisture source before installing more insulation. Possible causes include roof leaks, indoor air escaping through ceiling gaps, disconnected exhaust ducts, or ventilation problems.
Bathroom and kitchen exhaust fans should release air outdoors, not into the attic.
Inspect Attic Ductwork
Heating and cooling ducts in an unconditioned attic can lose energy through leaks and poorly insulated surfaces.
Look for ducts that are:
Disconnected or crushed
Missing insulation
Covered with condensation
Separated at joints
Resting in standing water
Damaged by pests
Restricting attic access
Duct joints should be sealed with approved materials rather than ordinary cloth-backed duct tape. Repairs may require an HVAC professional, particularly when ducts are difficult to access.
When Is an Insulation Upgrade Worth Considering?
An upgrade may be appropriate when:
The existing insulation is below the recommended R-value.
Coverage is shallow or uneven.
Large areas are missing insulation.
Insulation has been compressed or displaced.
Air leaks remain around ceiling penetrations.
A renovation creates access to an underinsulated area.
The home has persistent comfort differences between floors.
Heating and cooling costs remain high after equipment issues are addressed.
An energy assessment identifies the attic as a major source of heat loss or gain.
Old insulation does not always need to be removed. Dry, clean material can often remain underneath a new layer. Removal may be appropriate when it is wet, moldy, heavily contaminated by pests, badly damaged, or suspected of containing hazardous material.
Consider a Home Energy Assessment
An energy assessment can help separate attic problems from issues involving ducts, windows, HVAC equipment, or other parts of the building.
Depending on the service, an assessor may use:
Visual inspection
Insulation measurements
A blower-door test
Infrared imaging
Duct-leakage testing
Combustion-safety testing
Infrared images must be interpreted under suitable indoor and outdoor temperature conditions. A bright or dark area does not automatically prove insulation is missing.
Questions to Ask an Insulation Contractor
Before approving work, ask:
What R-value is recommended for this climate and home?
How was the existing R-value estimated?
Will air leaks be sealed before insulation is added?
How will soffit vents remain open?
How will recessed lights, wiring, and flues be protected?
Will damaged or contaminated insulation be removed?
Are bathroom exhaust ducts properly vented outdoors?
Will attic ducts be inspected and sealed?
What material and installation method will be used?
Will the final insulation depth and R-value be documented?
Are permits or inspections required locally?
The proposal should explain preparation, safety clearances, insulation coverage, cleanup, and warranty terms.
Focus on Complete, Safe Coverage
A successful attic upgrade is not simply a matter of blowing in more material. The attic floor should be air-sealed, insulation should be continuous, ventilation paths should remain clear, and moisture or safety problems should be corrected first.
A careful inspection can reveal obvious gaps, but uncertain materials, difficult access, wiring, fuel-burning equipment, and water damage are good reasons to bring in qualified help.
