
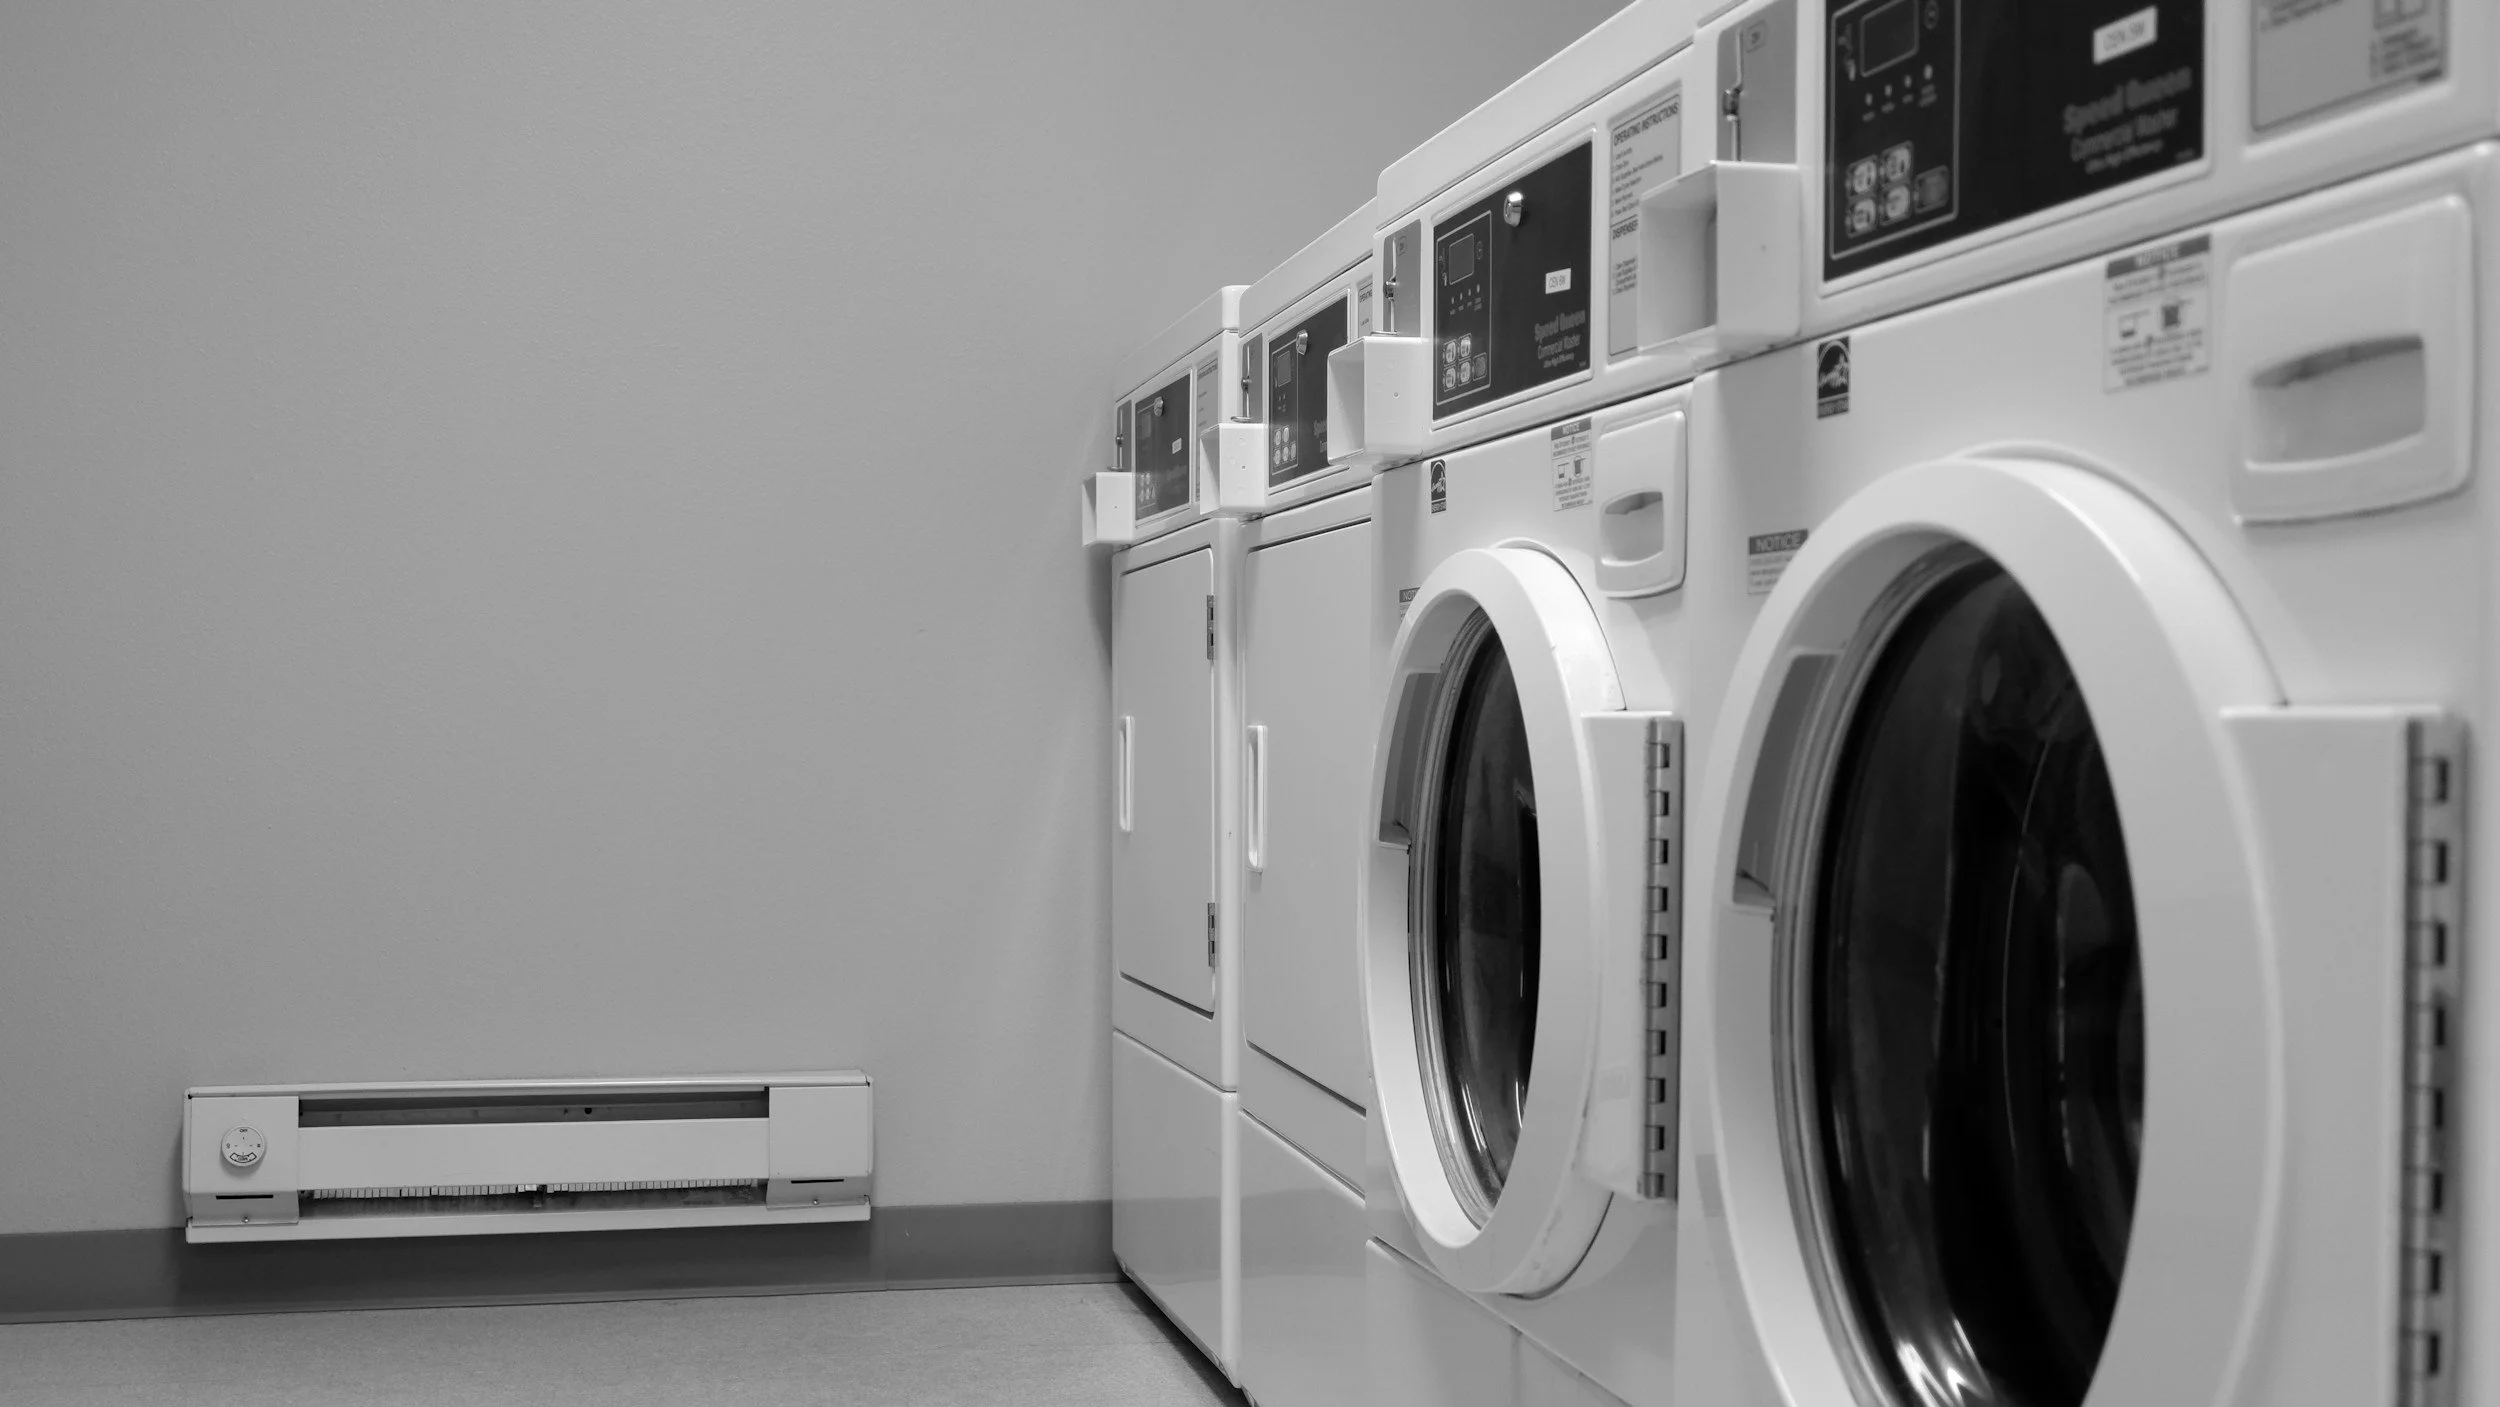
Lint does not remain entirely in a dryer’s lint filter. Some passes into the exhaust duct, where it can restrict airflow and contribute to excessive heat. A damaged, crushed, or poorly installed duct can make the problem worse.
The U.S. Fire Administration recommends cleaning dryer vent ductwork every year. Some households may need more frequent cleaning, particularly when the dryer runs often, the vent has a long route, or clothes begin taking longer to dry.
Know the Difference Between the Filter and the Vent
The lint filter is the removable screen inside or near the dryer door. It should generally be cleaned before or after every load.
The vent system includes:
The dryer’s exhaust outlet
The short connector behind the dryer
The duct running through the wall, floor, or ceiling
The exterior vent opening
Cleaning the filter does not clean the entire vent. Lint can still accumulate behind the dryer and throughout the exhaust path.
Ventless dryers use a different system and may not have an exterior exhaust duct. Follow the manufacturer’s cleaning instructions for the condenser, filter, water container, or heat exchanger.
Watch for a Restricted Dryer Vent
A dryer vent may need attention when:
Clothes take longer than usual to dry
A normal load requires a second cycle
Clothes feel unusually hot
The dryer or laundry room becomes excessively warm
The dryer stops before completing a cycle
A burning smell appears
Lint collects behind or around the machine
The exterior vent flap barely opens
Airflow at the outdoor opening feels weak
The dryer displays an airflow warning
Stop using the dryer if there is smoke, sparking, a burning odor, or extreme heat. Disconnect power when it is safe to do so and arrange professional inspection.
Long drying time can have other causes, including an overloaded machine, clogged lint filter, failed heating component, or washer that is not removing enough water. Check the full system rather than assuming the vent is the only problem.
Gather Basic Cleaning Supplies
A straightforward vent-cleaning job may require:
A vacuum with a hose attachment
A dryer vent brush kit
A screwdriver or nut driver
A flashlight
Work gloves
A dust mask
A soft brush for the lint-filter opening
A replacement vent clamp if the old one is damaged
Choose a brush intended for dryer ducts. Confirm that its rods connect securely so a section does not separate inside the vent.
Read the dryer and brush instructions before starting. Some manufacturers specify particular cleaning methods or duct materials.
Clean the Lint Filter First
Remove lint from the screen by hand. Inspect the filter for holes, warping, or damage that could allow excess lint into the dryer.
If residue from dryer sheets or fabric products has coated the screen, follow the manufacturer’s cleaning instructions. A blocked-looking or slow-draining screen may need gentle washing and complete drying before it is returned to the machine.
Use a narrow vacuum attachment or lint brush to clean the filter housing. Do not force a tool deeply into the dryer or damage the screen’s guides.
Never operate the dryer without its lint filter.
Shut Down the Dryer Safely
Turn the dryer off and unplug it before moving or disconnecting it. Electric dryers may use a large plug that requires a firm grip. Pull from the plug rather than the cord.
Gas dryers require additional care. Moving the appliance can damage an older, short, or poorly positioned gas connector. Do not pull a gas dryer forward if the connector appears tight, damaged, corroded, or difficult to access.
If a gas odor is present:
Do not operate electrical switches
Do not light a flame
Leave the area
Contact the gas utility or emergency service from a safe location
A homeowner who is uncertain about a gas connection should have the vent cleaned by a qualified professional.
Move the Dryer Without Damaging Connections
Pull the dryer forward only as far as the power cord, gas connector, and duct allow. Avoid twisting or dragging the machine sideways.
Check behind it for:
Crushed ductwork
Sharp bends
Loose connections
Torn or punctured material
Scorch marks
Excess lint
Signs of moisture
A damaged electrical cord
Gas connector concerns
Clean lint and dust from the floor, wall, and back of the dryer. Do not remove the appliance’s exterior panels unless the manufacturer permits it and the person doing the work is qualified.
Disconnect the Vent Connector
The connector is usually secured to the dryer outlet with a clamp. Loosen the clamp carefully and remove the duct without tearing it.
Inspect the connector. The Consumer Product Safety Commission recommends replacing plastic or foil accordion-style ducting with rigid or corrugated semi-rigid metal ducting. Plastic and thin foil materials can trap lint, kink, crush, or otherwise restrict airflow.
A connector should be:
Approved for clothes-dryer exhaust
As short and straight as practical
Free of crushing and sharp bends
Properly secured
Installed according to the dryer manufacturer’s instructions and local code
Do not improvise with ordinary plastic tubing.
Vacuum Accessible Lint
Vacuum loose lint from:
The dryer’s exhaust outlet
The disconnected vent connector
The wall or floor duct opening
The area behind the dryer
Do not push the vacuum hose so far into the duct that it becomes stuck. Avoid damaging an internal flap or duct joint.
If a large amount of damp lint is present, investigate whether rain, condensation, or a damaged exterior cover is allowing moisture into the system.
Brush the Exhaust Duct
Insert the dryer vent brush into the duct and advance it gradually according to the tool’s instructions. Rotate it in the recommended direction while moving it through the vent.
Remove loosened lint with the vacuum. Depending on the vent design, cleaning may be performed from the dryer side, exterior side, or both.
Use extra caution when the duct:
Runs a long distance
Has several turns
Travels upward through multiple floors
Exits through the roof
Contains hidden or inaccessible sections
Appears damaged or separated
Has not been cleaned for several years
Long or complicated ducts are better handled with professional equipment. Stop if the brush binds, a rod disconnects, or the duct appears to move inside the wall.
Do not use an improvised leaf-blower method. It may compact lint, separate a hidden duct joint, spread debris, or leave part of the blockage in place.
Clean the Exterior Vent Opening
Locate the vent outlet outside the home. Remove lint, leaves, nests, and other debris that can be reached safely.
Inspect the cover for:
A flap that does not open
Broken or missing parts
Corrosion
Pest damage
Heavy lint buildup
A screen or mesh that traps lint
Vegetation blocking airflow
The cover should open when the dryer operates and close when it stops. It should not require the dryer to push through a heavy obstruction.
Do not work from an unsafe ladder or climb onto a roof to reach a vent. Hire a professional when the outlet cannot be accessed safely from the ground.
Reconnect the Duct Correctly
Reattach the connector to the dryer and wall outlet according to the manufacturer’s instructions. Tighten the approved clamp so the duct is secure without being crushed.
Push the dryer back slowly while watching the connector. Leave enough space to prevent kinks or compression.
A connector that is too long may fold behind the machine. One that is too short may pull loose when the dryer moves. Replace damaged or incorrectly sized ducting rather than forcing it into position.
If a gas dryer was moved, check that the gas connector has not been pinched, stretched, or damaged. Professional inspection is appropriate whenever its condition is uncertain.
Test the Airflow
Reconnect electrical power. Run the dryer empty on an appropriate setting and check the outdoor vent.
Confirm that:
The exterior flap opens
Air flows steadily
The duct remains connected
The machine does not display an airflow warning
No unusual smell or sound develops
Do not reach into a moving dryer or touch hot exhaust components.
If airflow remains weak after cleaning, stop using the dryer until the remaining blockage or installation problem is found.
Clean the Vent at Least Annually
Annual cleaning is a practical minimum for many households. More frequent inspection may be appropriate when:
The dryer is used daily
The household dries large or lint-heavy loads
The vent is long or has several bends
The duct travels vertically
Pet hair and bedding are common
Drying time begins to increase
The exterior outlet repeatedly collects lint
Clean the lint filter with every load and check the outside vent periodically while the dryer is running.
Use the Dryer Safely Between Cleanings
Good everyday habits reduce lint accumulation and fire risk:
Clean the lint filter before or after every load
Do not operate the dryer without the filter
Avoid overloading the machine
Keep the area around the dryer free of clutter
Plug the dryer directly into an appropriate wall outlet
Do not use an extension cord
Keep combustible materials away from the appliance
Follow garment instructions for items exposed to oils or chemicals
Do not ignore burning odors or overheating
Have the appliance serviced when it operates abnormally
Clothing contaminated with gasoline, cooking oil, finishing oil, cleaning agents, or other flammable substances requires special care. Washing may not remove every residue. Follow the product and dryer manufacturer’s safety instructions, and consider air-drying when appropriate.
Know When to Hire a Professional
Professional vent cleaning is the safer choice when:
The dryer uses gas and must be moved
The vent exits through the roof
The duct is long or inaccessible
Several bends limit brush access
Airflow remains weak
The duct is damaged inside a wall
Lint returns quickly
Moisture collects in the duct
A bird or animal nest is suspected
The dryer overheats after cleaning
Electrical or mechanical problems are present
Ask whether the service will clean the entire route from the dryer to the exterior, inspect the connector, test airflow, and identify damaged or unsuitable ductwork.
A clean vent helps the dryer move heat and moisture outside as intended. Cleaning the lint filter every load, inspecting the exhaust path, and clearing the full vent at least annually can improve drying performance while reducing an avoidable household fire risk.
Disclaimer: This article provides general home-maintenance information. Dryer designs, gas connections, vent routes, and local building requirements vary. Follow the appliance manufacturer’s instructions and use a qualified appliance technician, gas professional, or vent-cleaning service when a connection or duct cannot be handled safely.
