
How to Winterize Outdoor Faucets and Prevent Frozen Pipes
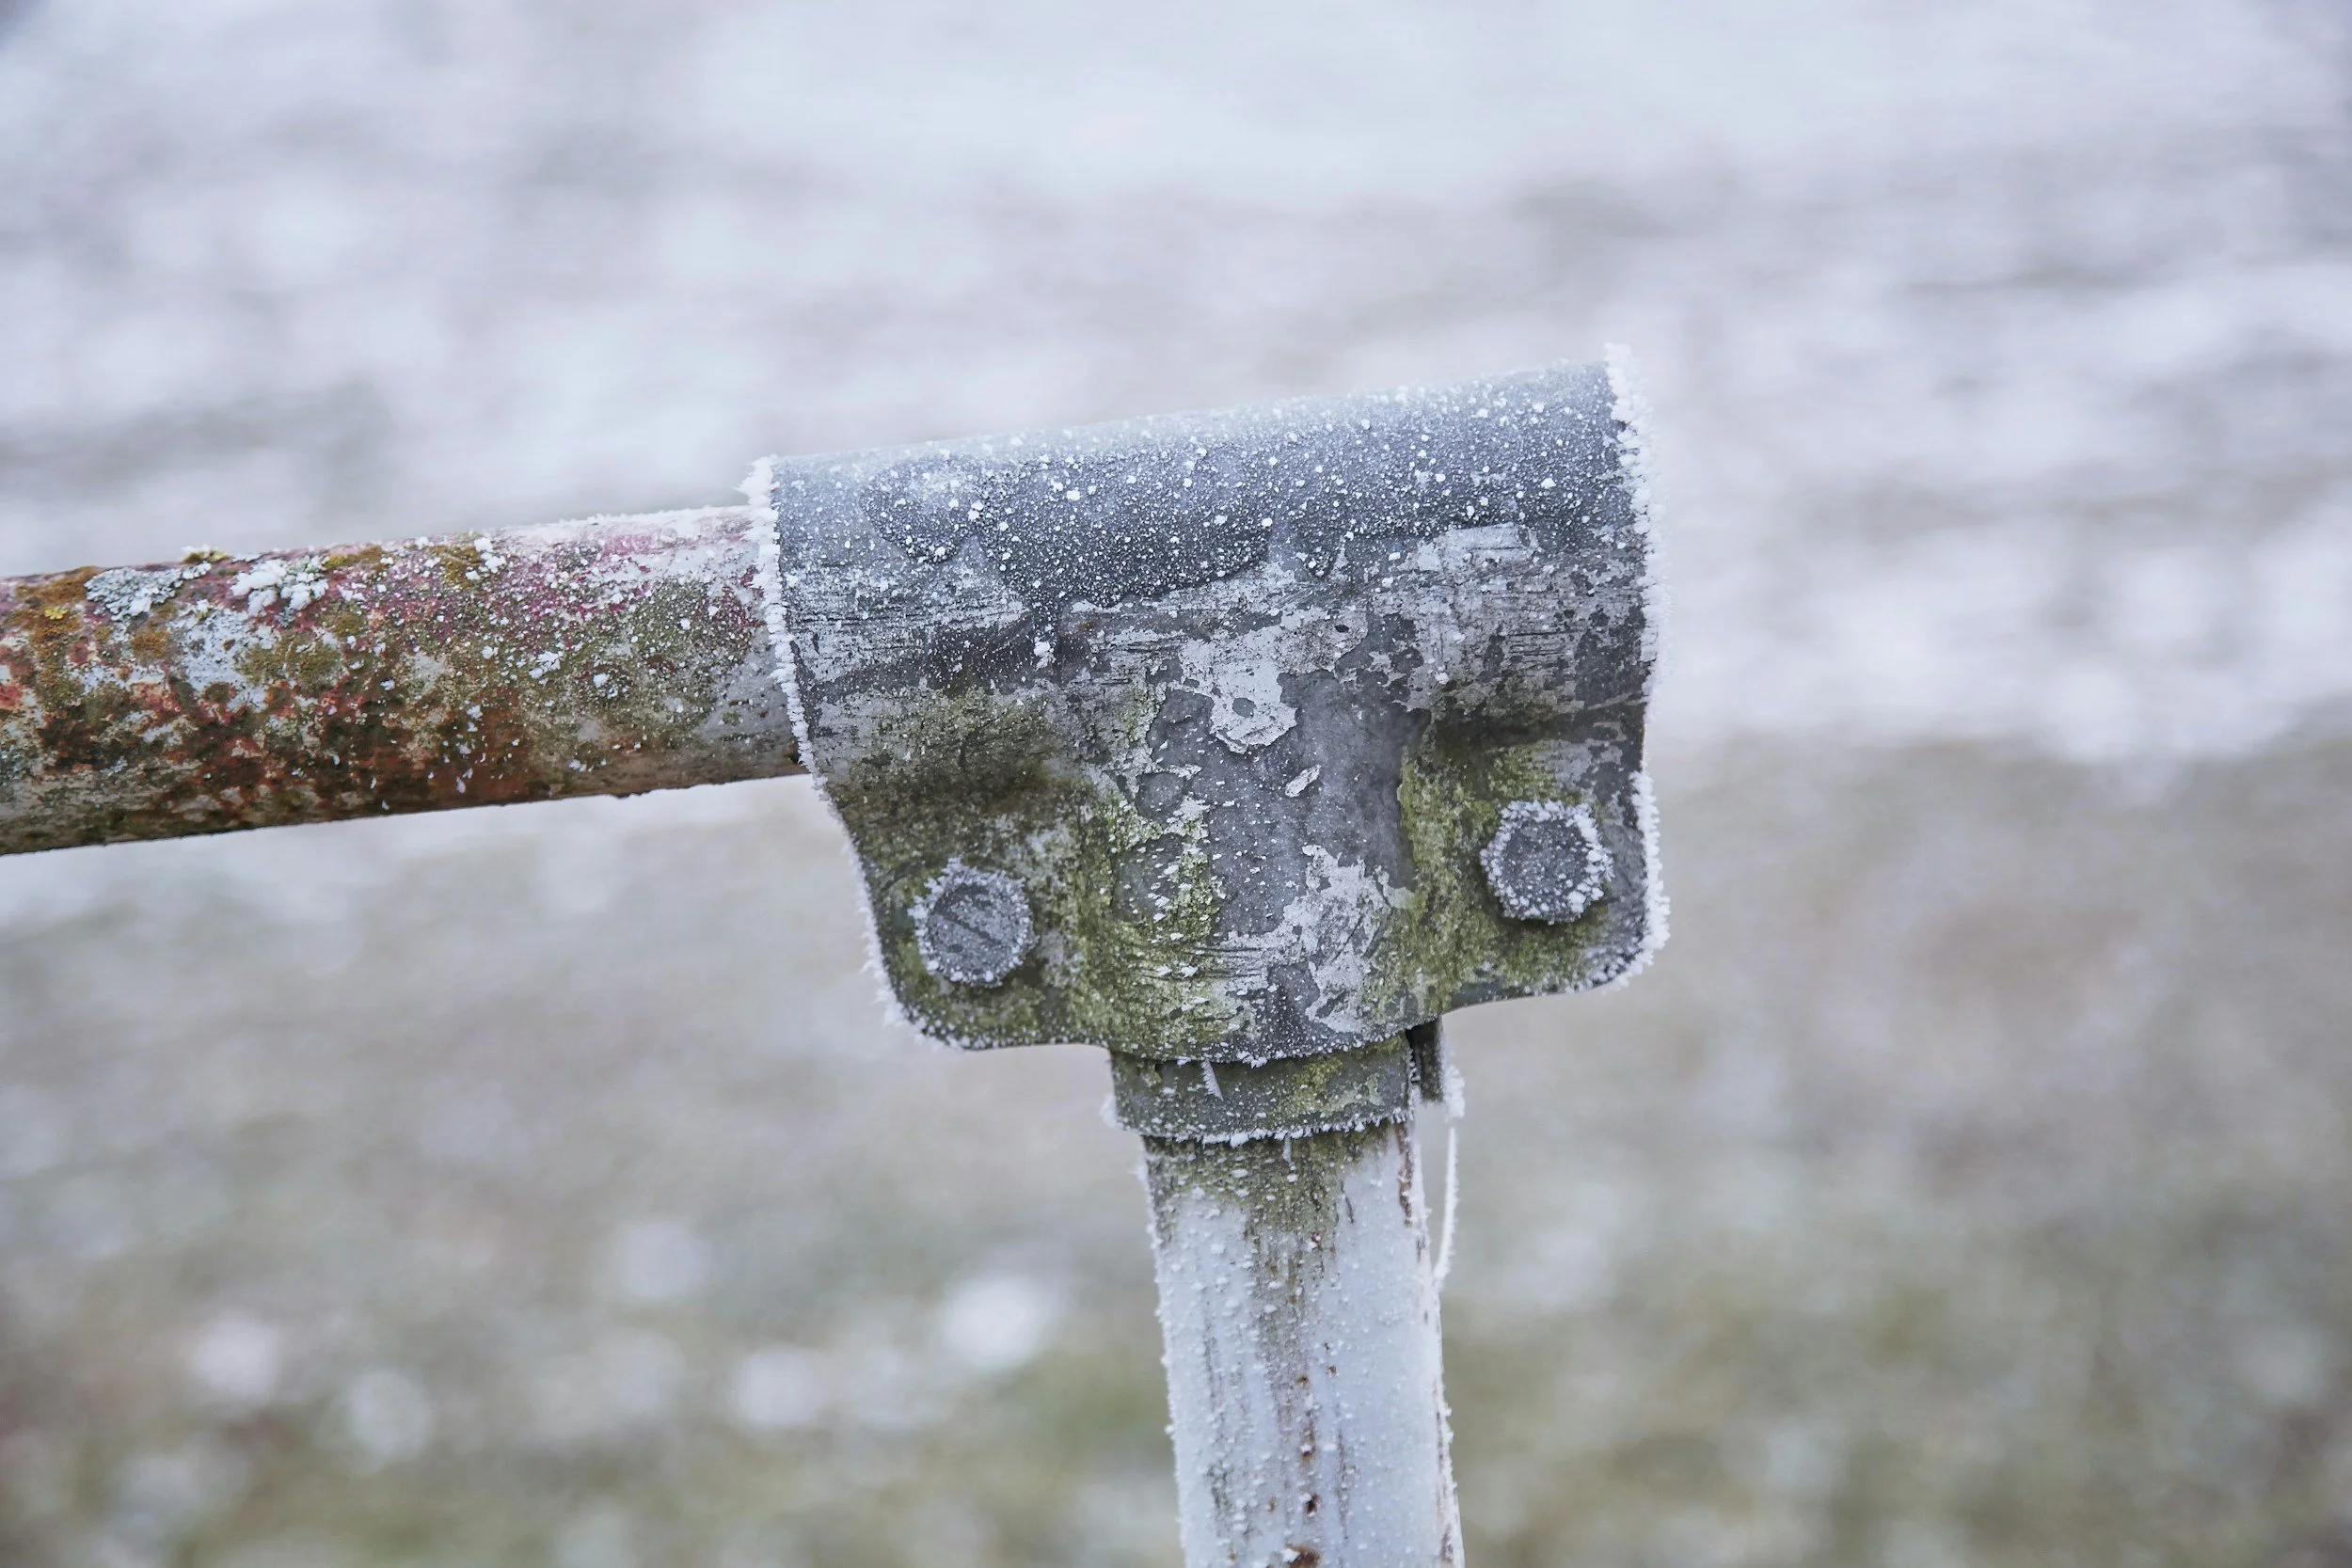
Outdoor faucets and the pipes that supply them are particularly vulnerable to freezing. Water expands when it freezes, creating pressure that can split a pipe, crack a valve, or damage a fitting inside the wall.
A broken pipe may not become obvious until the weather warms and the ice melts. Winterizing outdoor plumbing before the first hard freeze is much easier than repairing water damage later.
Start by Disconnecting Every Hose
Remove garden hoses, splitters, timers, spray nozzles, and other attachments from each outdoor faucet.
A connected hose can trap water inside the faucet assembly. This is particularly important for frost-free faucets, which need to drain after being shut off. Leaving a hose attached can prevent that drainage and allow water to freeze inside the wall.
After disconnecting:
Drain the hose completely.
Coil it without sharp bends.
Check for cracks, damaged fittings, or leaks.
Store it in a garage, shed, basement, or another protected location.
Remove attachments even if they are labeled weather-resistant. Weather resistance does not mean they can safely hold frozen water.
Identify the Type of Outdoor Faucet
The correct winterizing steps depend on the plumbing arrangement.
Standard Outdoor Faucet
A standard hose bib usually has its shutoff point close to the exterior wall. In a freezing climate, it should ideally have a separate indoor shutoff valve controlling the supply line.
If there is an indoor shutoff:
Close the indoor valve.
Open the outdoor faucet.
Allow the trapped water to drain.
Leave the outdoor faucet open for the winter unless the plumbing design or a professional directs otherwise.
If the indoor valve has a small bleeder cap, place a container underneath and open it carefully to drain the remaining water.
Replace the bleeder cap after drainage if the valve’s instructions call for it. Do not overtighten small caps or valves.
Frost-Free Faucet
A frost-free or freeze-resistant faucet has a long stem that shuts off water farther inside the building, where temperatures should remain warmer. When properly installed, the portion near the exterior drains after the faucet is closed.
A frost-free faucet still requires preparation:
Disconnect all hoses and attachments
Close the faucet fully without excessive force
Confirm that water stops flowing
Check that the faucet drains after use
Repair persistent dripping
Protect plumbing inside unheated walls or crawl spaces
A frost-free faucet can still freeze if a hose traps water, the faucet slopes incorrectly, the interior space becomes too cold, or the valve is damaged.
If you are unsure which type you have, consult the product documentation or ask a plumber.
Find and Test the Indoor Shutoff Valve
Outdoor faucet shutoff valves may be located in a basement, crawl space, utility room, cabinet, or ceiling near the exterior wall.
Trace the pipe from the outdoor faucet when it is accessible. A dedicated shutoff may be a lever-style ball valve or a round-handled valve. Some include a bleeder or drain cap.
Do not force a stuck or corroded valve. It may break and create a leak. If the valve does not move normally, have it inspected before freezing weather arrives.
Labeling each shutoff can make future winterization and emergency response easier.
Drain the Supply Line
Closing the indoor valve is not enough if water remains between that valve and the outdoor faucet.
With the indoor supply valve closed, open the exterior faucet and allow the line to drain. If the piping does not drain, it may lack the correct slope or contain a low point where water collects.
A plumber can evaluate recurring freeze problems and may recommend modifying the pipe, installing a better shutoff, or replacing a standard faucet with a properly installed frost-free model.
Do not use compressed air on household plumbing unless the system is designed for it and you understand the pressure requirements. Excessive air pressure can damage pipes, valves, appliances, and backflow devices.
Add an Insulated Faucet Cover
An insulated cover can provide an additional layer of protection for an exterior faucet. Choose a cover that fits tightly against the wall and is intended for outdoor use.
A cover does not replace the more important steps of disconnecting hoses, shutting off the supply when appropriate, and draining the line. It also cannot compensate for missing insulation or a severely exposed pipe.
Inspect covers during the winter. Wind, animals, and deteriorated fasteners can loosen them.
Insulate Vulnerable Pipes
Pipes most likely to freeze include those located:
In crawl spaces
In unheated basements
In attics
In garages
Near exterior walls
Under sinks against exterior walls
Near foundation vents or air leaks
Install pipe sleeves or another product intended for plumbing insulation. Cover elbows and fittings as completely as practical without blocking required valves or equipment access.
Insulation slows heat loss but does not produce heat. In very cold locations, air sealing, improved building insulation, pipe relocation, or an approved heating product may be necessary.
Use only listed heat cable or heat tape designed for the pipe material and installation location. Follow the manufacturer’s instructions exactly. Incorrectly installed heating products can create fire or electrical hazards.
Seal Cold-Air Leaks
A small opening that directs freezing air onto a pipe can cause trouble even when the surrounding room feels relatively warm.
Inspect areas around:
Pipe penetrations
Foundation vents
Crawl-space access doors
Basement windows
Exterior wall openings
Utility penetrations
Seal appropriate gaps using materials suitable for the location. Do not block required combustion air, drainage, or ventilation openings.
If a crawl space has a history of frozen pipes, ask a qualified contractor whether its insulation, ventilation, and air-sealing strategy is appropriate for the climate and building design.
Prepare Irrigation and Other Outdoor Water Lines
Outdoor plumbing can include more than hose faucets. Review:
Lawn irrigation systems
Outdoor showers
Pool supply lines
Water-feature plumbing
Detached garage plumbing
Outdoor kitchens
Animal watering systems
Follow the manufacturer’s or installer’s winterizing instructions. Some irrigation systems require professional blowout equipment and carefully controlled air pressure.
The American Red Cross advises against putting antifreeze into pool or sprinkler supply lines unless directed. Improper chemicals can harm people, pets, wildlife, landscaping, and the environment.
Shut down pumps and backflow devices only according to their approved procedures.
Protect Pipes During Severe Cold
Winterization reduces risk, but unusual cold may still threaten pipes inside the home.
During a hard freeze:
Keep garage doors closed when plumbing runs through the garage
Maintain indoor heat
Open sink cabinets to circulate warm air around vulnerable plumbing
Move household chemicals out of children’s reach when cabinets are open
Allow a small trickle from a faucet served by an exposed pipe when appropriate
Monitor rooms containing plumbing
Know where the main water shutoff is located
The American Red Cross recommends leaving the heat on and setting it no lower than 55°F when traveling during cold weather. A particular home may require a higher setting depending on insulation, pipe location, wind exposure, and outdoor temperature.
Do not turn the heat off simply because the house will be empty.
Know the Signs of a Frozen Pipe
Possible signs include:
No water from a faucet
Only a small trickle
Frost on an exposed pipe
Bulging or cracked plumbing
Unusual odors from a drain
Water stains or sounds inside a wall
A sudden drop in water pressure
If a pipe may already have burst, shut off the main water supply. Keep away from standing water near electrical equipment and call appropriate professionals.
How to Thaw a Frozen Pipe Safely
If the pipe is accessible and has not burst:
Open the affected faucet.
Apply gentle heat to the frozen section.
Work from the faucet end toward the frozen area.
Continue until full water flow returns.
Check other faucets for additional frozen pipes.
Inspect the thawed pipe and nearby fittings for leaks.
The Red Cross recommends methods such as an electric heating pad wrapped around the pipe, a hair dryer, or towels soaked in hot water. Keep electrical devices dry and follow their safety instructions.
Never use a blowtorch, propane heater, kerosene heater, charcoal stove, or another open-flame device. High heat can damage pipes and start a fire.
Call a licensed plumber if the frozen section is inaccessible, cannot be located, will not thaw, or appears damaged.
Prepare for a Burst Pipe
Before winter, make sure everyone in the household knows how to shut off the main water valve.
Keep the following information accessible:
Main shutoff location
Plumber’s contact information
Insurance contact information
Water utility emergency number
Location of electrical shutoffs
Photographs of finished areas near vulnerable plumbing
Water-leak sensors can provide early warning in basements, utility rooms, cabinets, and other areas where a leak may otherwise go unnoticed. Some systems can automatically close the main water valve, but they require correct installation and maintenance.
Outdoor Faucet Winterizing Checklist
Before freezing weather arrives:
Disconnect all hoses and attachments
Drain and store hoses
Identify standard and frost-free faucets
Locate dedicated indoor shutoff valves
Close indoor valves where appropriate
Open and drain exterior faucets
Use bleeder valves correctly
Repair dripping or damaged faucets
Install insulated faucet covers
Insulate vulnerable pipes
Seal appropriate cold-air leaks
Winterize irrigation and outdoor water systems
Locate and label the main water shutoff
Test water-leak sensors
Review the plan before leaving home during winter
The Bottom Line
The most important step is simple: remove hoses before freezing weather. For a standard outdoor faucet with an indoor shutoff, close the supply and drain the exterior line. Frost-free faucets also need disconnected hoses and proper drainage.
Faucet covers and pipe insulation add protection, but they should support—not replace—correct shutoff, drainage, heating, and air-sealing practices.
If pipes repeatedly freeze or the plumbing arrangement is unclear, have a licensed plumber inspect the system before winter.
