
How to Back Up Your Phone Before Replacing It: A Practical Checklist
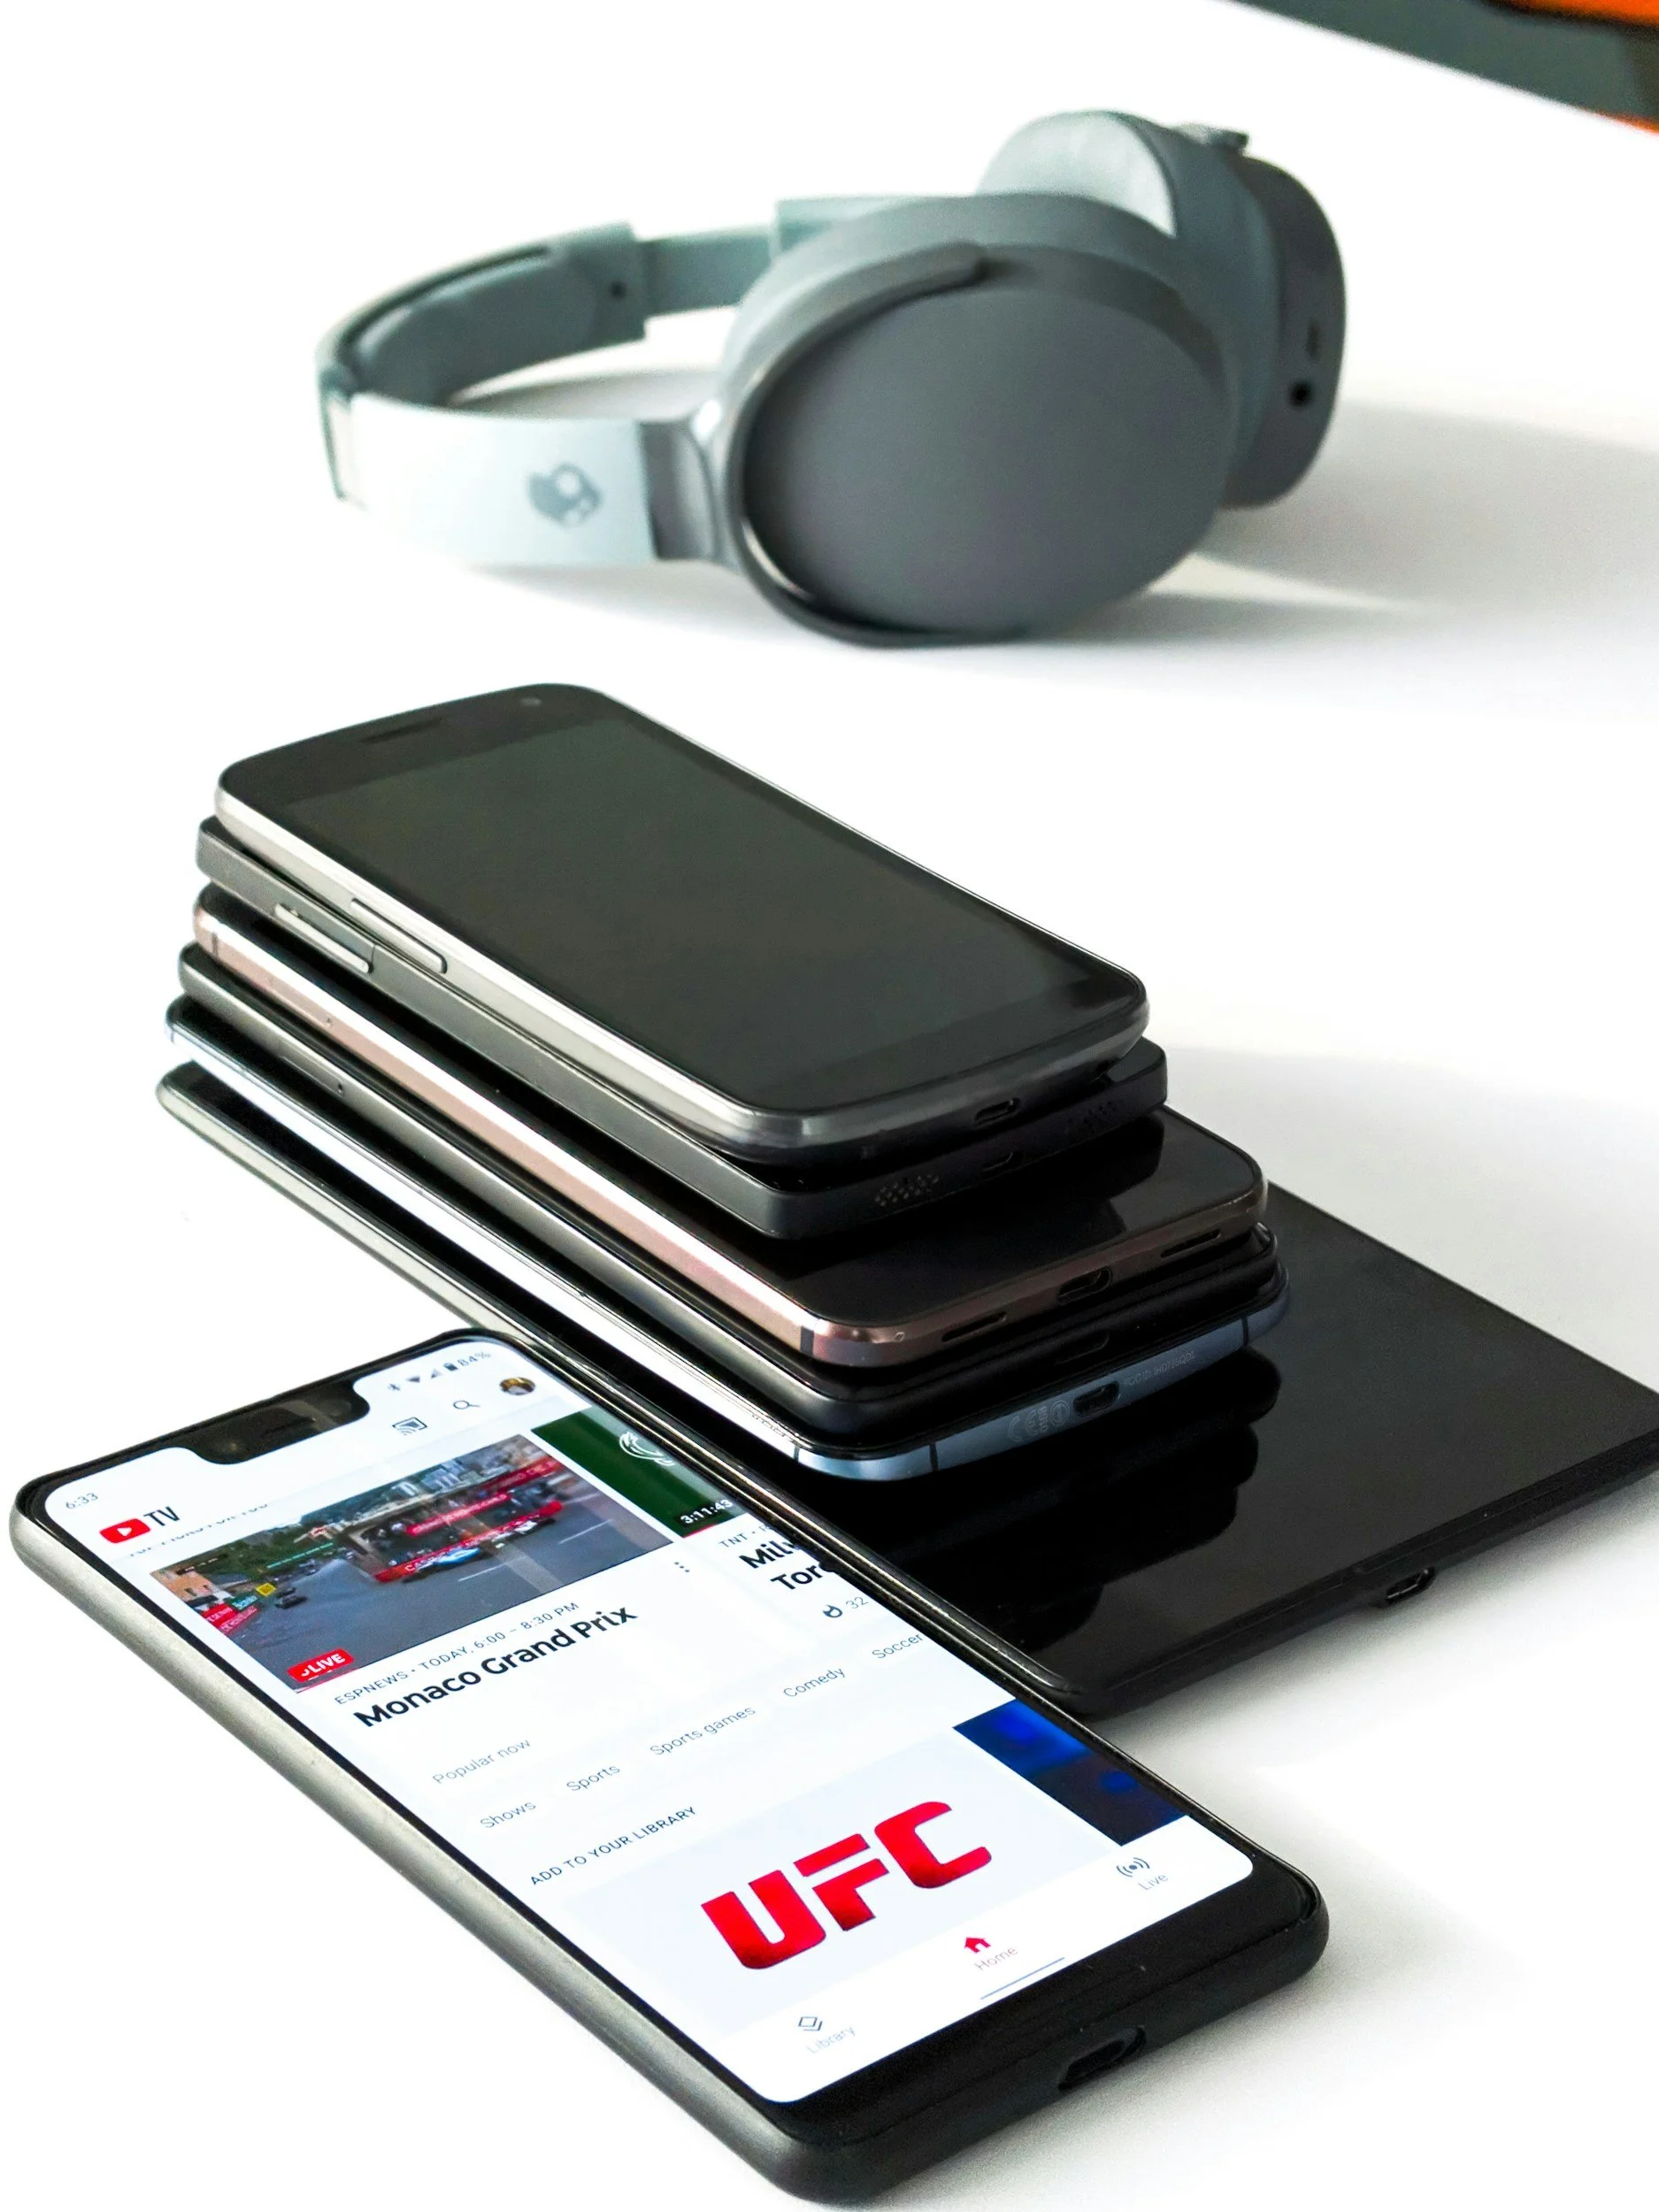
Moving to a new phone is easier than it used to be, but not everything transfers automatically. Photos may use a separate cloud service, messaging apps may require their own backups, and authenticator codes can be lost even when ordinary apps return.
The safest approach is to create a current backup, verify important categories separately, and keep the old phone intact until the new one has been tested.
Start Before Trading In the Old Phone
Do not erase, reset, mail, or trade in the old phone before the transfer is complete. Keep it charged and connected to Wi-Fi while preparing the replacement.
Gather the information you may need during setup:
The old phone’s passcode
Apple Account or Google Account credentials
Password manager access
Carrier account credentials
Backup passwords
Recovery codes for important accounts
Work or school account instructions
A charging cable compatible with both devices
Install pending operating system and app updates when practical. A current system can reduce compatibility problems during the transfer.
Check Available Cloud Storage
A backup may fail or omit recent data if the cloud account is full. Review the available storage before starting.
For iPhone, check iCloud storage and the date of the most recent backup. For Android, review the phone’s Google backup settings and Google Account storage.
Photo libraries may be much larger than the main device backup. Confirm whether photos are being stored in iCloud Photos, Google Photos, another service, or only on the device.
Back Up an iPhone
On an iPhone, open Settings, select your name, choose iCloud, and open iCloud Backup. Turn backup on if necessary, then select Back Up Now.
Keep the phone connected to Wi-Fi and power until the process finishes. Check the displayed date and time to confirm that the new backup completed.
Apple explains that an iCloud backup contains information and settings that are not already syncing separately with iCloud. For example, photos are not included in the device backup when iCloud Photos is enabled because the photo library syncs independently.
Consider an Encrypted Computer Backup
An iPhone can also be backed up to a Mac through Finder or to a Windows computer through the Apple Devices app.
Select Encrypt local backup if the backup needs to include items such as saved passwords, Wi-Fi settings, Health data, website history, and call history. Store the backup password securely. Apple warns that an encrypted backup cannot be restored without its password.
Instructions are available in Apple’s encrypted backup guide.
Using both iCloud and an encrypted computer backup provides an additional recovery option, but either method still needs to be checked for successful completion.
Back Up an Android Phone
Menu names differ among Android manufacturers, but on many devices the backup controls are under Settings, Google, All services, and Backup.
Turn on the appropriate backup service, review the selected data, and choose Back up now. Google says its Android backup can preserve items such as apps, messages, call history, device settings, and preferences.
Google notes that a backup can take up to 24 hours to finish. Check the status for each data category rather than assuming the backup completed because the process started. The official steps are available through Android Help.
Some manufacturers provide an additional backup or transfer service. Review what it includes and whether it stores data in the manufacturer’s cloud account, on a computer, or on external storage.
Verify Photos and Videos Separately
Open the cloud photo service from another device or a web browser. Confirm that recent photos and videos appear there.
Check:
The most recent photo
Several older albums
Favorites and edited images
Videos
Screenshots
Downloads
Locked, hidden, or private folders
Photos stored on a removable memory card
A thumbnail on the phone does not always prove that the full file has uploaded. Open several items while using another device to confirm they are accessible.
If the library is not cloud-based, copy it to a computer or external drive before replacing the phone.
Confirm Contacts and Calendars
Contacts may be stored in several places, including an Apple Account, Google Account, Microsoft account, SIM card, or only on the phone.
Review the accounts connected to the Contacts and Calendar apps. Confirm that syncing is enabled for the account you plan to use on the new device.
Open the same account through a web browser or another device and look for several recent contacts and calendar events. Export a copy if the information is especially important or if contacts are split among multiple accounts.
Check Messages and Messaging Apps
Ordinary text messages may be included in the device backup or synced through the phone’s cloud account, depending on the platform and settings.
Third-party messaging apps can behave differently. Some store conversations on their own servers, while others require an app-specific backup, direct phone-to-phone transfer, or encrypted backup password.
Open each important messaging app and look for its backup or transfer setting. Check:
The date of the latest chat backup
The account or phone number connected to it
Whether photos and videos are included
Whether an encryption password or key is required
Whether transfers between iPhone and Android require special steps
Do not delete the messaging app or deactivate the old phone number until conversations have appeared on the new device.
Transfer Authenticator Apps and Recovery Codes
Authenticator apps deserve special attention. Losing access to them can lock you out of email, banking, work, social media, and cloud accounts.
Determine whether the authenticator app:
Syncs codes through an account
Requires a manual export
Supports a device-to-device QR transfer
Requires each account to be registered again
For example, Google Authenticator can sync codes through a Google Account or transfer them manually using QR codes. Google provides the current procedure in its Authenticator transfer instructions.
Save backup or recovery codes for important accounts in a secure password manager or another protected location. Test at least one login on the new phone before removing the authenticator from the old one.
Never send an authenticator transfer QR code or recovery code to another person.
Review Passwords and Passkeys
Confirm that your password manager is syncing and that you know its master password. If it requires a separate recovery key, save that key securely.
Check how passkeys are stored. Passkeys associated with Apple Passwords, Google Password Manager, or another synchronized credential manager may appear after sign-in, but locally stored or hardware-bound credentials may require additional setup.
Verify access to:
Primary email
Apple or Google account
Password manager
Banking accounts
Work accounts
Carrier account
Cloud storage
Social media used for account recovery
Your primary email account is particularly important because many other services send recovery links to it.
Check App-Specific Data
A phone backup may restore an app without restoring everything stored inside it.
Review apps that contain important local data, including:
Voice recorder apps
Note-taking apps
Drawing and design apps
Games
Scanning apps
Finance and budgeting tools
Health or fitness apps
E-book readers
Offline maps
Music creation apps
Security camera apps
Cryptocurrency wallets
Look for an export, sync, or backup feature inside each app. Download copies of irreplaceable recordings, documents, or projects.
Cryptocurrency wallet access may depend on a recovery phrase or private key. Store that information offline and securely. Never place it in an ordinary note, email, or unencrypted cloud file.
Handle Work and School Accounts Carefully
Managed work profiles, employer applications, digital certificates, VPN settings, and security keys may not transfer through a personal backup.
Ask the organization’s technology administrator whether the old device must be removed from management before the new phone is enrolled. Some applications require a new activation code or approval.
Do not copy employer-controlled data into a personal cloud service unless the organization permits it.
Plan the SIM or eSIM Transfer
A device backup does not necessarily transfer cellular service. Determine whether the phone uses a physical SIM or eSIM.
Check with the carrier about:
Whether the SIM can be moved directly
How to transfer the eSIM
Whether the old phone must remain active during activation
Whether a verification text will be sent
Whether international service settings need to be recreated
What happens to saved voicemail
Keep the old phone available until calls, texts, and mobile data work on the replacement.
Create a Final Manual Copy of Important Files
Even with a successful cloud backup, copy the most important files to a second location. This may include:
Identification scans
Tax and financial documents
Voice recordings
Work files
Medical documents
Travel confirmations
Family photos and videos
Downloaded files
Notes containing important reference information
Use an encrypted computer, reputable cloud service, or secured external drive. Avoid placing sensitive records on an unencrypted public or shared computer.
Set Up and Test the New Phone
During setup, use the manufacturer’s transfer process. Keep both phones powered and connected until it reports completion.
Google’s Android transfer guidance supports cable, wireless, and cloud restoration methods, depending on the devices involved. Apple offers Quick Start, iCloud restoration, and computer-backup restoration through its iPhone transfer instructions.
After setup, check:
Calls, texts, and mobile data
Recent photos and videos
Contacts and calendars
Message histories
Email accounts
Authenticator codes
Password manager access
Notes and voice recordings
Banking and payment apps
Health and fitness history
Work applications
Bluetooth devices
Important app logins
Some apps and media continue downloading after the initial setup. Leave the new phone connected to power and Wi-Fi until restoration is finished.
Wait Before Erasing the Old Phone
Use the new phone for at least a short verification period before wiping the old one. Confirm that important accounts work and that no missing file requires another transfer.
When satisfied:
Unpair watches or other devices if required.
Sign out of accounts when the manufacturer instructs you to do so.
Remove payment cards where necessary.
Disable device-tracking activation locks according to official instructions.
Remove a physical SIM or memory card.
Perform the manufacturer’s factory-reset procedure.
Confirm that the phone returns to its initial setup screen.
Do not erase the old phone merely because the new one turns on. A careful verification step is what turns a transfer into a dependable backup process.
