
How to Find and Seal Air Leaks Around Windows and Doors
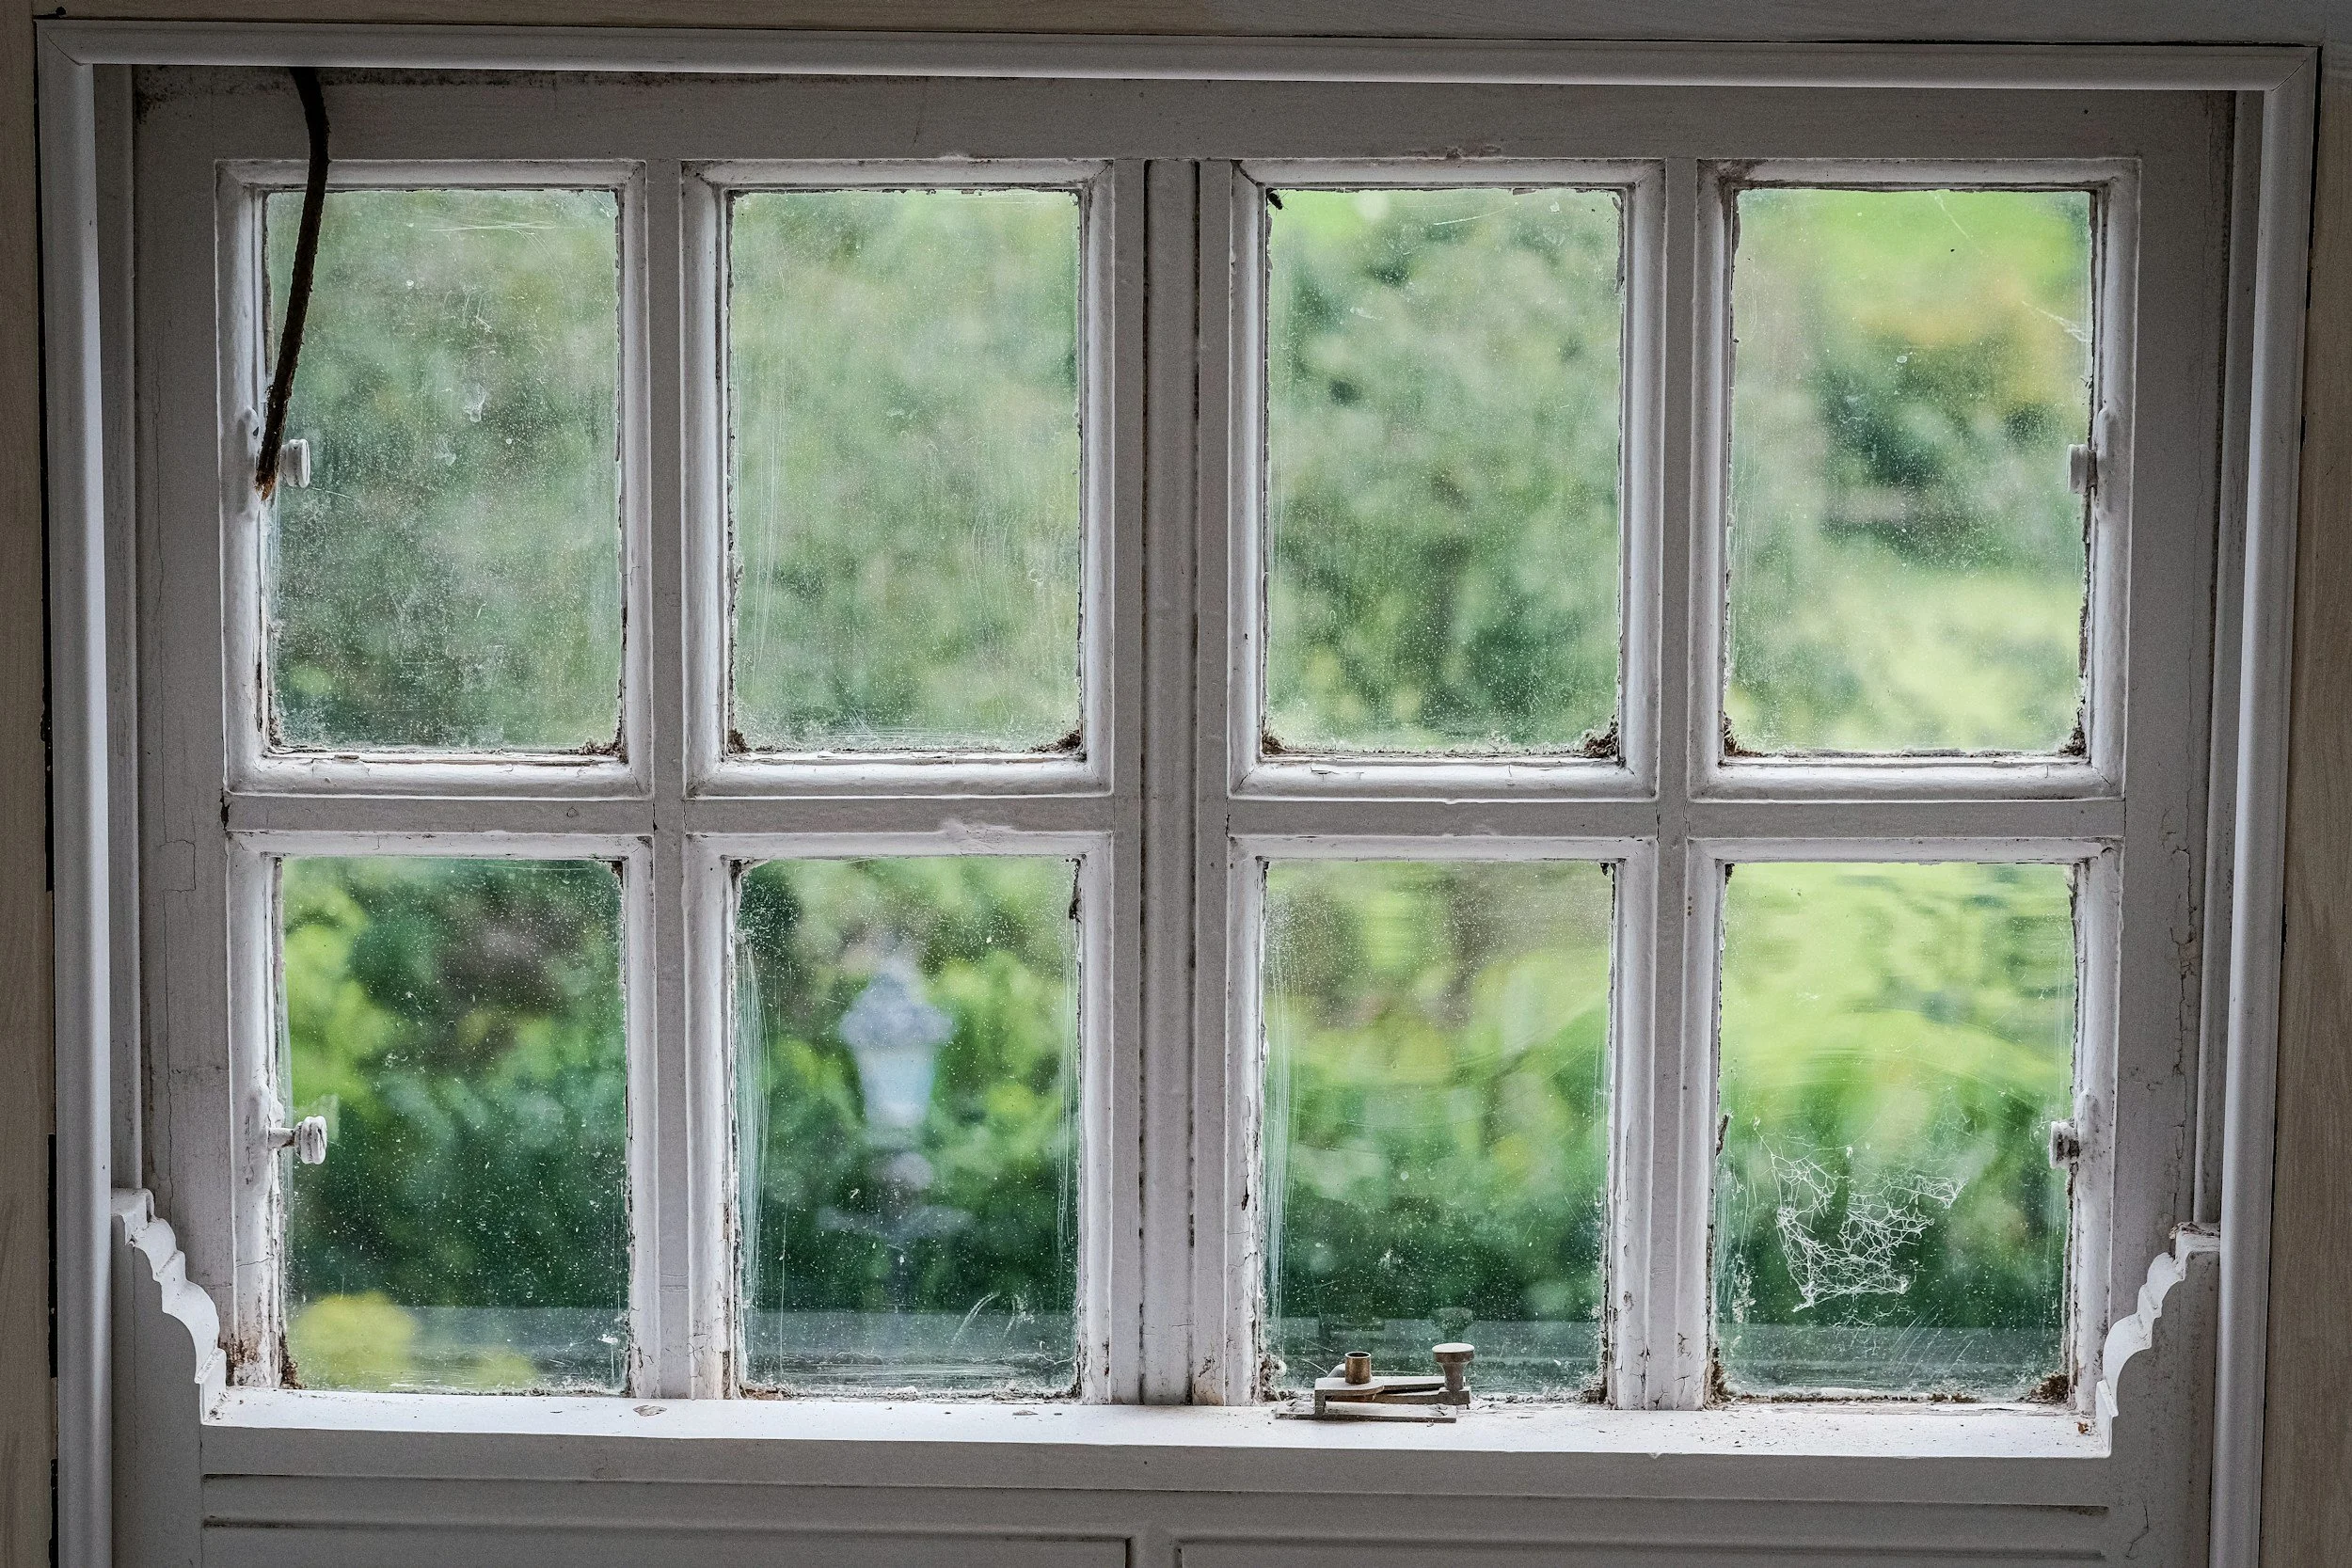
Drafty windows and doors can make rooms uncomfortable even when the heating or cooling system is working properly. The problem is often a worn seal, an uncaulked joint, or a gap between the frame and the wall rather than the window or door itself.
Before replacing an entire unit, inspect the common leakage points and match the repair material to the type of gap. Caulk is generally used on fixed joints. Weatherstripping belongs where a window or door moves.
Look for the Signs of an Air Leak
Obvious signs include:
A draft around a closed window or door
Visible daylight around the edges
Loose or missing weatherstripping
Cracked or separated caulk
A door that rattles when closed
Exterior odors entering around the frame
Dust or insects appearing near the trim
One area of a room that remains noticeably colder or warmer
Curtains that move when the window is closed
Condensation does not always mean air is leaking. It can result from high indoor humidity or a cold glass surface. Water stains, peeling paint, and soft wood may indicate a flashing, drainage, or exterior water-entry problem that requires more than caulk.
Inspect the Entire Window or Door
Check more than the visible joint around the glass. Common leakage locations include:
Between the sash and window frame
Where two sliding or double-hung sashes meet
Around window locks
Between the frame and interior trim
Between exterior trim and siding
Along the sides and top of an exterior door
Under the door
Around the threshold
At mail slots and pet doors
Around old window-weight pulley openings
Where framing meets the surrounding wall
Open and close the unit several times. A seal may look intact but fail to make contact when the window or door is latched.
Use a Simple Paper Test
Close a door or window on a piece of paper. If the paper pulls out with almost no resistance, the seal may be too loose at that location.
Repeat the test around several parts of the perimeter. A door may seal properly near the latch but leak near the upper hinge or bottom corner.
This method is particularly useful for identifying weatherstripping that has compressed over time.
Check for Moving Air
On a windy day, slowly move a damp hand around the frame and sash. The skin often detects a cool draft that is difficult to see.
A smoke pencil can make smaller air currents visible. If smoke moves sharply toward or away from a closed joint, air is probably passing through it.
Avoid using candles or another open flame. Be cautious with incense near curtains, woodwork, children, pets, smoke alarms, or combustible materials. Do not conduct a smoke test while a fuel-burning appliance is operating if there is any concern about backdrafting.
ENERGY STAR describes both paper and smoke checks in its guidance for sealing behind window and door trim.
Consider a Professional Blower Door Test
A home energy auditor can use a blower door to create a controlled pressure difference and measure overall air leakage. The auditor may combine the test with a smoke pencil or infrared camera to locate hidden gaps.
Infrared images show surface-temperature differences, not air movement by themselves. Results can be misleading when indoor and outdoor temperatures are similar or when sunlight has heated part of the building.
A professional assessment can be useful when drafts occur throughout the home, energy bills are unexpectedly high, or large air-sealing projects are being planned.
Decide Whether the Joint Moves
This distinction determines which product to use.
Use caulk or another approved sealant for fixed gaps, such as:
The joint between trim and wall
The joint between exterior trim and siding
Small cracks in a stationary frame
Gaps around a fixed window unit
Use weatherstripping for moving surfaces, such as:
The sides and top of a door
The meeting rails of a window
The edge of an operable sash
A sliding window track
The contact point between a door and its stop
Caulking a moving joint can prevent the window or door from operating and may interfere with emergency egress.
Replace Worn Weatherstripping
Remove loose, brittle, painted-over, or permanently compressed weatherstripping. Clean the contact surface and allow it to dry before installing the replacement.
Common options include adhesive-backed foam, rubber or vinyl bulb seals, V-strip tension seals, felt, and metal spring strips. The best choice depends on the window or door design and the size of the gap.
The seal should compress when the unit closes without making it difficult to latch. Weatherstripping that is too thick can prevent proper operation, while material that is too thin will not stop the leak.
Operate the window or door several times after installation. Confirm that locks engage fully and that an egress window can still open easily.
Adjust the Door Before Adding More Material
A draft may result from alignment rather than failed weatherstripping.
Check whether:
Hinge screws are loose
The door has dropped at the latch side
The strike plate is misaligned
The threshold has shifted
The frame is damaged or out of square
Existing weatherstripping no longer contacts the door evenly
Tightening an appropriate loose hinge screw or adjusting the strike may restore the seal. If the door or frame is severely warped, adding layers of foam usually provides only a temporary and uneven repair.
Install or Replace the Door Sweep
The gap below an exterior door often needs a door sweep or a properly adjusted threshold.
Choose a sweep designed for the door material and direction of operation. It should make light, continuous contact with the threshold without dragging heavily across the floor.
After installation, verify that the door closes and latches normally. Also confirm that the sweep does not trap water against the bottom of the door.
Some thresholds have adjustable screws that raise or lower the sealing surface. Make small changes and check the fit after each adjustment.
Caulk Small Stationary Gaps
Remove loose caulk, dirt, and flaking paint before applying new sealant. A clean, dry surface produces a more durable joint.
Choose a caulk rated for the location and materials. Exterior products must tolerate weather, sunlight, and temperature changes. Interior paintable caulk is useful where trim meets drywall. Kitchen and bathroom products are not automatically suitable for exterior window joints.
Apply a continuous bead, tool it into the joint, and follow the manufacturer’s temperature and curing instructions.
Do not caulk:
Window weep holes
Drainage channels
Operable tracks
Over locks or hardware
Gaps intentionally designed for ventilation
Areas where caulk would trap water behind siding or trim
If the opening is too large for caulk alone, install correctly sized backer rod before applying sealant.
Seal Gaps Behind Interior Trim
A window or door can leak between its jamb and the rough wall opening even when the visible caulk looks intact.
Removing interior casing may reveal an empty or poorly sealed cavity. ENERGY STAR recommends appropriate materials such as backer rod with sealant or low- or non-expanding foam intended for windows and doors.
Use foam sparingly. General-purpose expanding foam can bow a jamb and interfere with the window or door. Follow the product instructions and protect nearby finishes.
Removing trim without damage requires patience and basic carpentry skill. A professional may be a better choice when the trim is historic, the frame is already distorted, or water damage is present.
Use Temporary Options When Appropriate
For a seasonal or rental-friendly improvement, removable rope caulk may reduce leakage around a window that will remain closed. Interior shrink-film kits can also reduce drafts and create an additional air space.
These products do not repair failed frames, water leaks, rotten wood, or broken insulated-glass seals. Confirm that any temporary covering can be removed quickly from a required emergency exit.
Check the Exterior for Water Problems
Exterior caulk is part of a water-management system, not the entire system. Inspect:
Head flashing or drip caps
Siding joints
Window sills
Door thresholds
Damaged trim
Cracked masonry
Missing sealant at appropriate fixed joints
Signs that water is collecting instead of draining
Do not seal over an unexplained wet area. Trapping moisture can accelerate rot and conceal a larger flashing problem.
Fog or moisture between panes usually indicates a failed insulated-glass seal. Caulking around the interior trim will not restore the insulating gas or remove moisture trapped inside the glass unit.
Test the Repair
After the product has cured or adhered, repeat the paper or draft test. Open, close, lock, and unlock the window or door several times.
Check that:
The draft is reduced
The unit closes completely
Locks and latches work
Drainage openings remain clear
Emergency exits still operate
The repair does not rub, bind, or distort the frame
Inspect exterior caulk and weatherstripping at least once a year and after severe weather. Moving parts and exposed sealants wear out over time.
Avoid Over-Sealing Without Considering Ventilation
Air sealing can improve comfort and efficiency, but a home still needs controlled ventilation. Extra caution is appropriate in homes with natural-draft furnaces, boilers, gas water heaters, wood stoves, or fireplaces.
The EPA warns that excessive depressurization can cause combustion appliances to backdraft, drawing carbon monoxide and other combustion products into living areas. Have combustion equipment evaluated when undertaking extensive air sealing, and keep working carbon monoxide alarms installed according to applicable instructions and local requirements.
Small repairs around a few windows or doors are usually manageable, but whole-house sealing is a good reason to consult an energy auditor or qualified building professional.
Repair the Leak Before Replacing the Unit
A draft does not automatically mean a new window or door is necessary. Weatherstripping, alignment adjustments, a door sweep, or sealing behind the trim may correct the problem at much lower cost.
Replacement becomes more reasonable when the frame is rotten, the unit is badly warped, hardware cannot be repaired, insulated glass has failed, or repeated sealing attempts do not solve the problem.
Start with the specific leak, use the correct material, and preserve drainage and safe operation. A careful repair is usually more effective than applying caulk to every visible joint.
